Cleaning a microwave is a crucial but sometimes disregarded chore. Food spills, splatters, and aromas may build up over time, making the appliance seem dirty and smell bad. Because of their inherent qualities, vinegar and lemon are often suggested in cleaning guidelines, but not everyone like their strong smell or keeps them on hand. In order to keep your microwave odor-free, clean, and ready for everyday usage, this tutorial explains easy and efficient ways to clean it without using vinegar or lemon.
With the correct equipment and methods, cleaning your microwave without the use of vinegar or lemon is not only feasible but also quite easy. You may get dazzling results without the unpleasant odors by utilizing different cleaning supplies and a little imagination. These techniques are surprisingly successful, accessible, and safe.
Why Skip Vinegar and Lemon? Understanding Alternatives
Lemon and vinegar are common cleaning supplies, but they aren’t necessarily the ideal option for everyone. Those with sensitivity may find their powerful, persistent scents offensive. There are also many safe and natural alternatives if you run out of these components or are searching for other approaches that work better for you.
Benefits of Using Alternative Cleaning Methods
Choosing different cleaning methods might have unexpected advantages. Numerous alternatives are more economical, eco-friendly, and kinder to the surfaces of your microwave. Whether you’re dealing with smells, oily residue, or tenacious stains, they also allow you to personalize your cleaning solutions to your liking.
Gather Your Supplies
Important Things You’ll Need to Clean Your Microwave
Get a few essential materials before you start. These consist of hydrogen peroxide, baking soda, dish soap, rubbing alcohol, water, salt, and essential oils. For wiping and cleaning, you’ll also need a sponge, soft cloth, or scrub brush.
Selecting Safe and Natural Cleaning Products
Make safety your first priority while choosing cleaning supplies. In addition to being safe to use near food, natural chemicals like hydrogen peroxide and baking soda also ensure that no hazardous residues are left behind.
Equipment to Make Cleaning Simple
Invest in cleaning pads and high-quality microfiber cloths that are kind to the surfaces of your microwave. These tools avoid scratches and make cleaning simpler.
Preparing Your Microwave for Cleaning
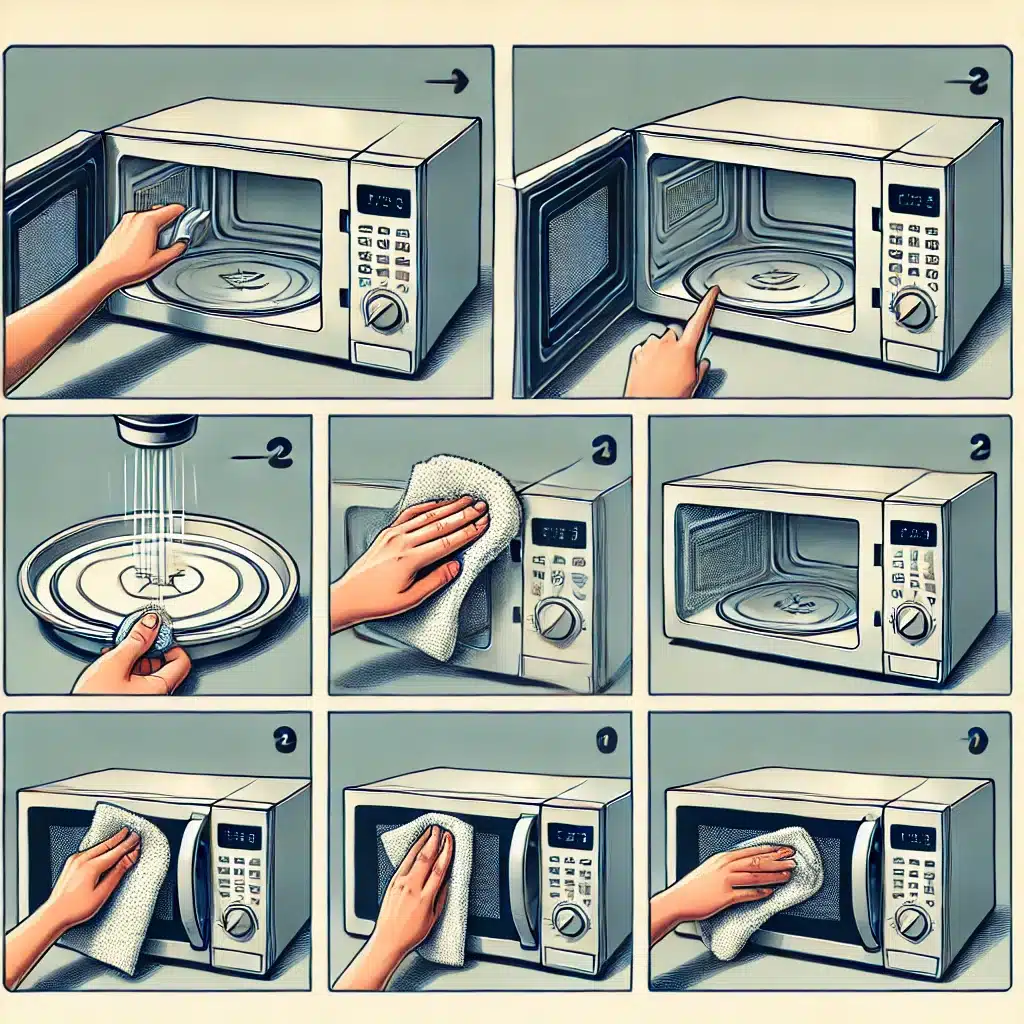
Unplugging for Security: An Essential Action
Always unplug your microwave before beginning. Safety is ensured by this easy step, particularly while handling liquids and electrical equipment.
Turntables and Accessories Removed
Remove the turntable and any other detachable parts from the microwave. The inside may be easier accessed by cleaning these parts independently.
Cleaning with Baking Soda
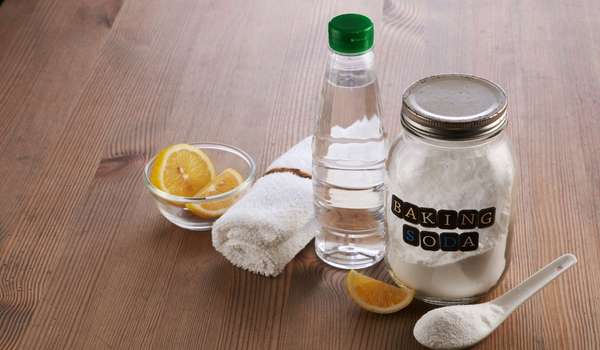
Baking soda is a natural and multipurpose cleaning solution that is excellent for microwaves. Its natural deodorizing qualities aid in getting rid of residual smells, and its mildly abrasive texture makes it perfect for getting rid of tough stains without harming surfaces. Baking soda is a great option for keeping a microwave clean and fresh since it is non-toxic, mild, and safe to use in places where food is prepared, unlike harsh chemical cleansers.
Here’s how you make the most of baking soda:
- Combine the paste: In a bowl, make a thick paste with 2–3 teaspoons of baking soda and a little water. It should have a spreadable consistency without being very thin.
- Apply to stains: liberally apply the paste to greasy or discolored sections of the microwave using a sponge or cloth. Pay attention to areas where residue has solidified.
- Leave it alone: Give the paste ten to fifteen minutes to rest on the spots. This time of relaxation aids in removing dirt and removing smells.
- Gently scrub: Work in circular movements over the treated areas with a gentle sponge or towel. The mild abrasiveness of baking soda will remove residue without causing any harm.
- Clean: Remove the baking soda paste by soaking a fresh towel in warm water. For a clean finish, make sure all residue is eliminated.
Following cleaning, you’ll find that the microwave is not only immaculate but also noticeably fresh, devoid of any residual food scents. Baking soda is a vital component of your microwave cleaning regimen since it provides a simple, environmentally friendly option that is both safe and effective.
The Power of Dish Soap
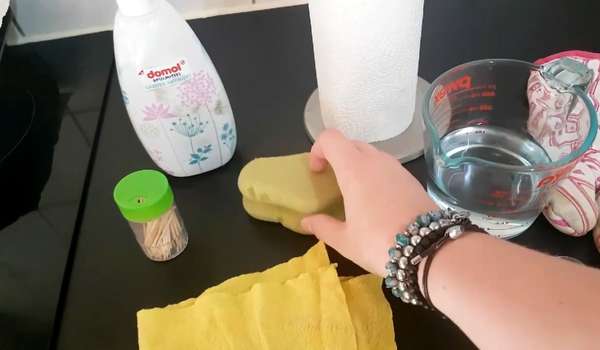
A common home item, dish soap works wonders for cleaning microwaves. Because of its ability to cut grease, it’s perfect for cleaning up food spills and greasy residues that often build up within appliances. Selecting the proper dish soap is essential; choose for a gentle, oil-removing recipe that doesn’t leave a strong or lasting smell. To keep the microwave neutral and fresh for your next usage, steer away from models with strong fragrances.
Here’s how to properly use dish soap:
- Make a solution using soap: Add a few drops of dish soap to a basin of warm water. To get a light lather, stir.
- Clean the inside: After dipping a sponge or soft cloth into the soapy water, gently squeeze it out. Use it to clean the microwave’s inside surfaces, paying particular attention to oily or hardened splatters.
- Focus on trouble spots: For tough stains, gently scrape in a circular motion after pressing the soapy sponge against the area for a few seconds.
- Take off the accessories: For a complete cleaning, use the same soapy solution to clean the turntable and other detachable components individually.
Rinsing out any soapy residue is crucial once the oil and stains have been removed:
- Soak a fresh cloth in warm water.
- To get rid of any remaining soap, wipe off every internal surface.
- If required, repeat with a new cloth to guarantee a finish free of streaks.
A quick and easy method to maintain the cleanliness and sanitary condition of your microwave is to use dish soap. Its mild but effective cleaning process guarantees that your equipment is free of unwanted smells or residue and ready for regular usage.
Using Rubbing Alcohol
Because of its degreasing and disinfecting qualities, rubbing alcohol makes a great microwave cleaning. It is perfect for difficult cleaning jobs since it swiftly eliminates oil and sticky places and without leaving any streaks.
How to Use Alcohol for Rubbing:
- Wet a cloth: Without completely soaking it, dab a delicate cloth with rubbing alcohol.
- Focus on trouble spots: Use gentle circular movements to gently massage oily or sticky areas until they are clean.
- Clean components: The turntable or detachable pieces may be cleaned using the same technique.
Polishing Tip:
For a streak-free sheen, use a dry microfiber towel to buff the microwave’s surfaces.
Alcohol rubs quickly, effectively, and leaves no trace behind, leaving your microwave disinfected and clean.
Steam Cleaning with Water
Cleaning your microwave is simple and chemical-free using steam cleaning, a fast and natural method of removing food particles and dirt.
Steps to Steam Clean:
- Pour water into a microwave-safe bowl.
- To allow steam to remove filth, heat on high for five minutes.
- Remove the bowl carefully, then use a fresh towel to clean the inside.
Tip: Add a drop of essential oil to the water before steaming for a fresh scent.
This method is simple, effective, and leaves your microwave clean and refreshed.
Harnessing the Power of Salt
Salt is a straightforward, all-natural cleaning solution that works wonders at getting rid of stubborn food residue from your microwave. Its gritty texture removes dirt without damaging surfaces, acting as a mild abrasive. Combining salt with water makes it a cheap and simple way to clean up problems that won’t go away.
How to Use Water and Salt to Clean:
- Wet a sponge or cloth: Lightly wet your cleaning instrument with water.
- Put salt on it: Apply a liberal quantity of table salt on the sponge or moist cloth.
- Gently scrub: Scrub regions with caked-on dirt with the salt-covered cloth, making tiny, circular strokes to target stubborn places.
In addition to being efficient, salt is safe for microwave interiors. It effortlessly eliminates residue and dirt, leaving your appliance pristine and chemical-free for usage.
Using Wet Paper Towels
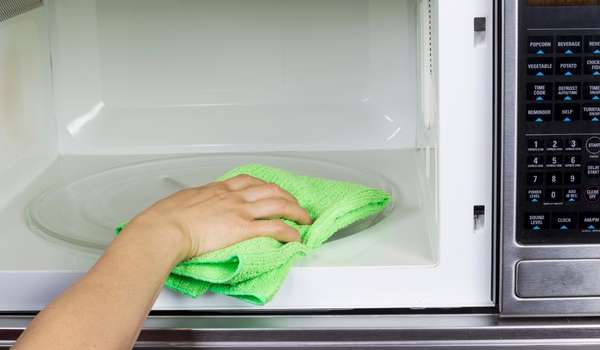
A fast and easy method to clean your microwave is using wet paper towels. Cleaning is made simple by the steam they generate, which softens dirt and grime.
Steps to Steam Clean:
- Put some paper towels in the microwave to become damp.
- To create steam, heat on high for one minute.
- Wipe away any loose dirt with the chilled cloths.
To avoid accumulation, clean up spills right away using a moist paper towel. This technique keeps your microwave looking new and is quick and simple.
Cleaning with Hydrogen Peroxide
A safe and efficient way to clean microwaves is with hydrogen peroxide. It possesses strong stain-removing and disinfecting qualities, is non-toxic, and dissipates rapidly. Because of this, it’s a great option for removing oil and dirt while maintaining a clean interior.
How to Use Hydrogen Peroxide for Cleaning:
- Apply straight away: Apply hydrogen peroxide to stains or oily areas using a spray bottle or moist cloth.
- Let it rest: To remove dirt and stains, let the solution stay for a few minutes.
- Wipe and scrub: Use a moist cloth or sponge to gently scrub the area, then wipe it clean.
Because hydrogen peroxide is safe and adaptable, it leaves your microwave sanitary and clean without leaving any harsh chemicals or residues behind. It’s a dependable way to maintain the best possible condition for your device.
All-Natural Cleaning with Essential Oils
Adding essential oils to your microwave cleaning regimen is a great idea. Many of them, such as tea tree, eucalyptus, and lavender, have antibacterial qualities that aid in surface sanitization in addition to offering a natural, revitalizing fragrance. Without using harsh chemicals, using essential oils guarantees a sanitary and pleasant-smelling appliance.
How to Clean and Deodorize using Essential Oils:
Select your oil: Choose oils like lavender for a calming scent, eucalyptus for freshness, or tea tree for its disinfecting qualities.
- Get a spray ready: In a spray bottle with water, add a few drops of essential oil.
- Use the remedy: Lightly mist your microwave’s exterior and interior surfaces with the mixture.
- Wipe clean: To leave a fresh aroma behind, use a towel to wipe and deodorize the surfaces.
An simple and natural approach to keep your microwave clean and smelling good is to use essential oils into your cleaning regimen. It’s a simple fix that makes your kitchen peaceful and tidy.
Regular Maintenance Tips
If you establish basic, regular routines, maintaining the cleanliness of your microwave will be a breeze. By wiping it down after each use, you may avoid time-consuming thorough cleans by preventing dirt and splatters from solidifying. Your microwave will remain in optimal condition if you dedicate a few minutes each week to a thorough cleaning, especially for busy homes.
- Wipe the inside with a sponge or moist cloth after every use to get rid of spills and splatters.
- Take out the turntable and give it a wash with warm, soapy water once a week.
- Focus on any stains or spots that are difficult to remove as you thoroughly clean the inside.
- To preserve freshness, take care of any residual smells during the weekly cleaning.
Your microwave will stay clean and sanitary and be prepared for daily usage if you follow these simple procedures.
How to Handle Odors Without Lemon or Vinegar
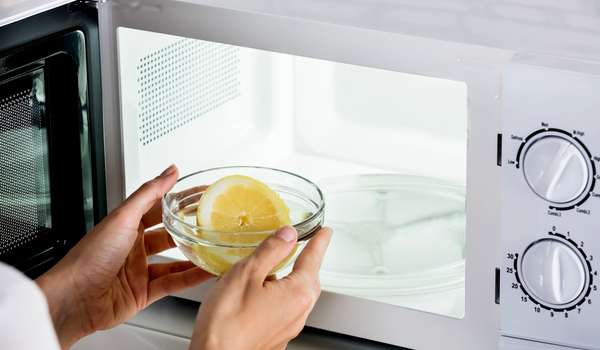
Making Deodorant using Baking Soda
To absorb residual smells, put an open baking soda box in the microwave for the whole night. This is a simple method to maintain the fresh scent of your microwave.
Activated Charcoal for Odors That Don’t Go Away
Activated charcoal is an effective natural deodorizer for stronger odors. For a whole day, place a small container of it in the microwave.
Advice for Maintaining the Fresh Scent in Your Microwave
Cover food while heating and mop up spills right away to avoid smells. Using natural deodorants, such as essential oils, on a regular basis might also be beneficial.
Tackling Stubborn Stains
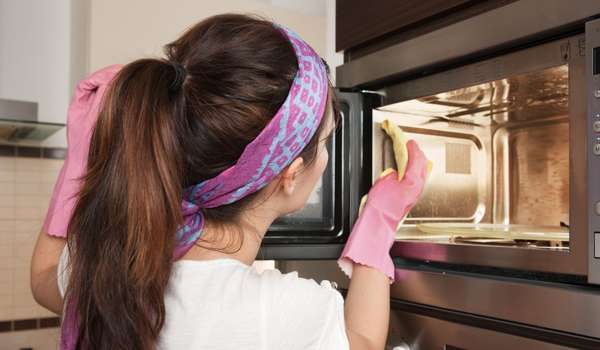
Layered Cleaning for Persistent Build-Up
Use layer cleaning techniques for more stubborn stains. For best results, start with a baking soda paste, rinse with soapy water, and then massage with hydrogen peroxide.
When to Repeat the Cleaning Process
One cleaning session isn’t always sufficient. As necessary, repeat the procedure, paying particular attention to particularly difficult areas, until your microwave is thoroughly cleaned.
Cleaning the Exterior of Your Microwave
Cleaning the Handles and Door
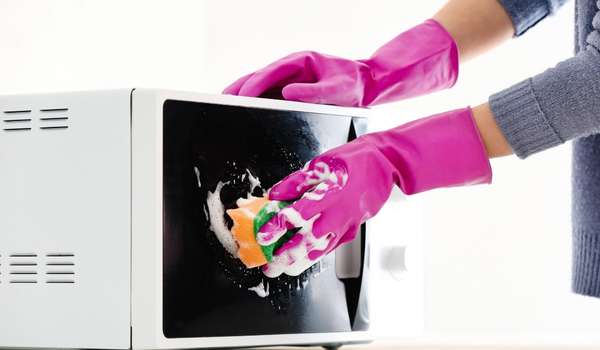
Grease and fingerprints are often accumulated on the microwave’s outside. Wipe the door, handle, and buttons with a moist cloth soaked in dish soap.
Vent Cleaning for Better Results
Performance might be impacted by dust and oil clogging vents. Periodically clear dirt from vents with a soft brush or vacuum attachment.
Drying and Reassembling
Drying your microwave after cleaning is essential to prevent moisture buildup, which can lead to unpleasant odors and even mildew over time. Once you’ve cleaned the interior and removable components, use a dry cloth to thoroughly wipe down all surfaces and allow any damp parts to air dry completely. When everything is dry, carefully reassemble the microwave, ensuring the turntable and other components are securely in place for safe and effective use. This simple step keeps your appliance fresh, hygienic, and ready for operation.
Eco-Friendly Cleaning Practices
Adopting eco-friendly cleaning practices for your microwave not only helps the environment but also saves you money and promotes a healthier home. Using reusable microfiber cloths or sponges instead of disposable paper towels is a simple way to reduce waste while still achieving excellent cleaning results. Additionally, opting for natural cleaning agents like baking soda and essential oils avoids the use of harsh chemicals, minimizing environmental impact and ensuring your microwave stays spotless and safe for food preparation. These small, sustainable changes make a big difference over time.
Troubleshooting Common Issues
For stubborn stains that refuse to come off, persistence is key. Reapply your chosen cleaning solution, such as baking soda paste or soapy water, and allow it to sit for a longer period to loosen the grime. If needed, use a slightly more abrasive sponge or cloth to gently scrub the area without damaging the microwave’s surfaces.
If lingering odors remain even after cleaning, try combining deodorizing methods for better results. Place an open box of baking soda in the microwave overnight to absorb smells, or use a mixture of water and essential oils during steam cleaning to leave a fresh scent. These approaches ensure your microwave is both clean and odor-free.
Final Touches
Polishing your microwave is the final touch that gives it a sparkling, like-new appearance. Use a dry, lint-free cloth to buff the exterior and interior surfaces, removing any streaks or smudges for a gleaming finish. Pay extra attention to the door and control panel to enhance the overall look.
Once you’re done, take a moment to admire your effort. A clean, polished microwave not only looks great but also ensures better hygiene and optimal performance in your kitchen. It’s a small achievement that makes a big difference in your daily routine!
Conclusion
Keeping your microwave clean without vinegar or lemon is both simple and effective when you use alternative methods. From baking soda and dish soap to essential oils and hydrogen peroxide, these solutions provide an array of options to suit your needs. With regular maintenance and a touch of care, you can ensure your microwave stays fresh, functional, and ready for use. Now that you know how to clean a microwave without vinegar or lemon, share your newfound knowledge and inspire others to keep their appliances spotless!
