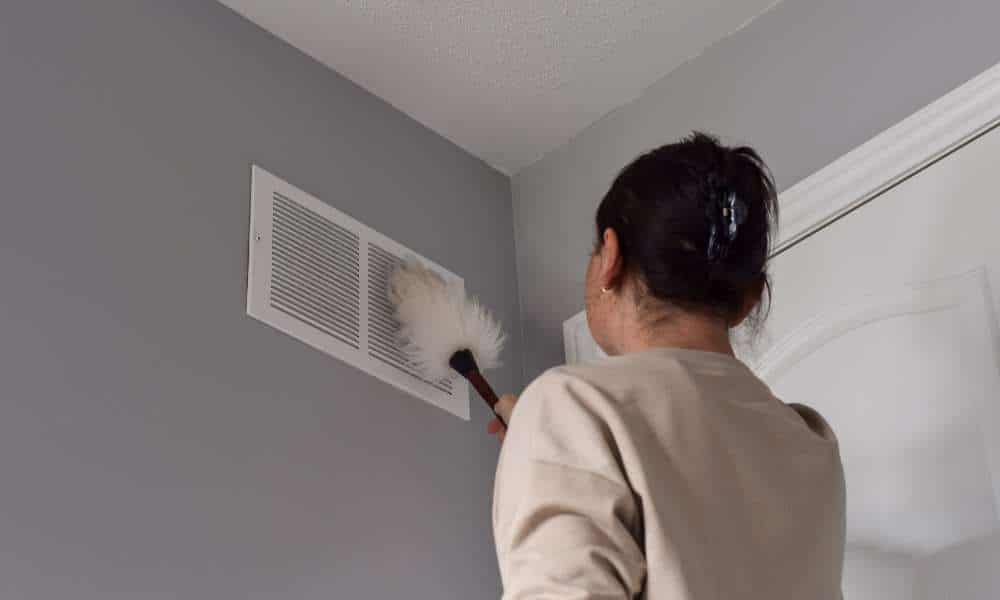
It never crossed your mind to wonder what was under this seemingly innocuous air vent cover. Over time, these covers can accumulate dust mites, pet hair, and various contaminants, turning your once-primitive ventilation system into a breeding ground for allergens and pollutants. However, no need to worry! With a little effort and some basic tools. You can easily restore your air vent covers, ensuring clean air in your home. In this article, we’ll guide you through the step-by-step process of cleaning your air vent covers like a pro, allowing you to say goodbye to mysterious grime and hello to clean air vent covers.
Why clean air vent covers?
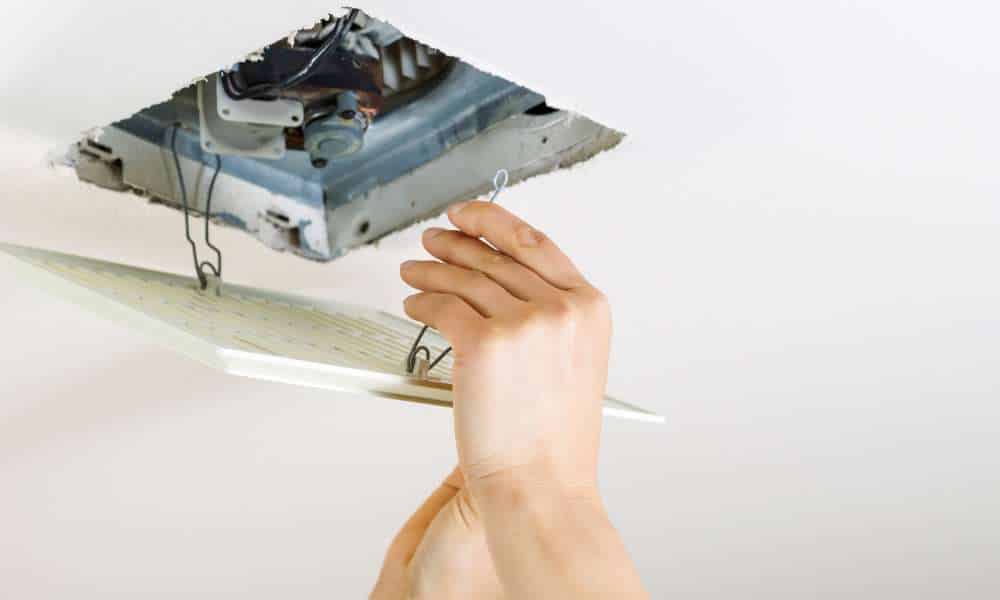
Regular cleaning of air vent covers is important for two main reasons. First, it prevents the accumulation of dust and debris, which can obstruct airflow, resulting in reduced HVAC system efficiency and higher energy consumption. Second, it helps remove allergens like pollen and pet dander that can be carried into your home through dirty vents, potentially causing allergies and respiratory problems. In short, cleaning vent covers ensures optimal airflow and improves indoor air quality, contributing to a healthier and more comfortable home environment.
Materials needed for cleaning air vent covers
To clean air vent covers, you’ll need the following materials:
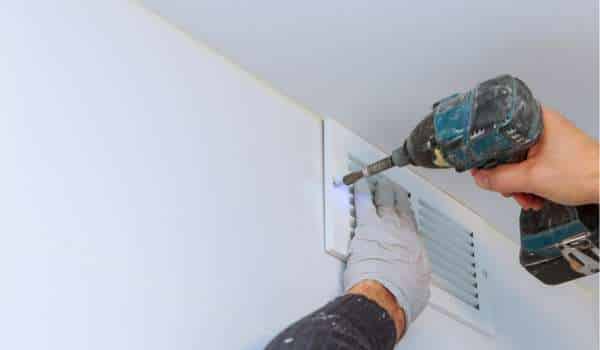
- Screwdriver or Allen wrench: These tools are necessary to remove the vent covers if they are attached to screws or fasteners.
- A vacuum cleaner with attachments: A vacuum with a brush attachment can help remove loose dust and debris from the vent covers.
- Microfiber cloths or soft rags: These are used to wipe down and scrub the vent covers.
- Warm, soapy water: A mixture of mild dish soap and water is effective for cleaning the vent covers.
- Cleaning brush or a toothbrush: A small brush or toothbrush can help you reach tight spaces and clean crevices on the vent covers.
- Bucket or basin: You’ll need a container to hold the soapy water for cleaning.
- An all-purpose cleaner (optional): If the vent covers have stubborn stains or grime. An all-purpose cleaner can be used as an alternative to soapy water.
- Gloves: Wearing disposable or rubber gloves can protect your hands from dust, dirt, and cleaning solutions.
- Safety goggles (optional): If you’re concerned about dust or debris getting into your eyes while cleaning, safety goggles can provide protection.
- Towels or rags for drying: Once the vent covers are cleaned. You’ll need clean towels or rags to dry them thoroughly.
These materials will help you effectively clean and maintain your air vent covers. Ensuring that your HVAC system operates efficiently and the air in your home remains clean and allergen-free.
Section 1: Assessing the condition of vent covers
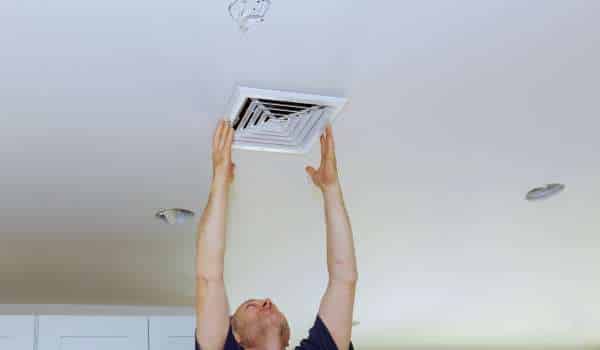
Before you begin the cleaning process, it is extremely important to assess the condition of your air vent cover. Start by inspecting them for visible dirt, dust and debris. Note any spots or stains that may require special attention when cleaning. Additionally, check that the vent covers are securely attached to the ducts and make necessary repairs if they are loose or damaged. Be sure to identify any stubborn stains, mold, or mildew, as these problems may require specific cleaning techniques or solutions.
Section 2: Gathering the necessary cleaning supplies

With a clear understanding of the condition of your articulation cover. It’s time to gather the drawing inventories you need. particulars demanded include a screwdriver or Allen wrench to fasten the covers with screws or fasteners. Use a vacuum cleaner with an encounter attachment to remove loose dust and debris. Prepare a bucket or basin with warm, soapy water made with mild dish soap and water for cleaning. Use a microfiber cloth or soft rag to wipe and scrub the vent cover. You may need a small brush or toothbrush to access tight spots and crevices. Optionally, include an all-purpose cleaner for tough stains, gloves to protect your hands, and safety goggles if you’re concerned about eye safety. Be sure to use a clean towel or rag to dry.
Section 3: Removing and cleaning the vent covers
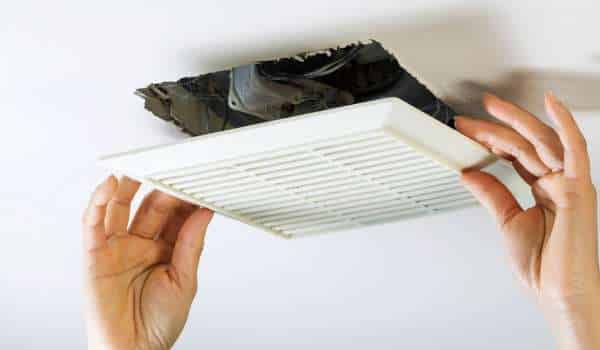
Now that you have your cleaning supplies ready, proceed with vent cover removal and cleaning. Use a screwdriver or Allen wrench to carefully remove any screws or fasteners holding the covers on. Make sure they are placed in a safe place for reassembly. Use a vacuum with a brush attachment to remove loose dust and debris from the vent cover. Soak the covers in warm, soapy water, or use a microfiber cloth soaked in soapy water to wipe both sides of the covers. Pay special attention to stains or grime and use an all-purpose cleaner for stubborn stains if necessary. Finally, rinse the vent covers thoroughly with clean water to remove any soap residue.
Section 4: Cleaning hard-to-reach areas and crevices
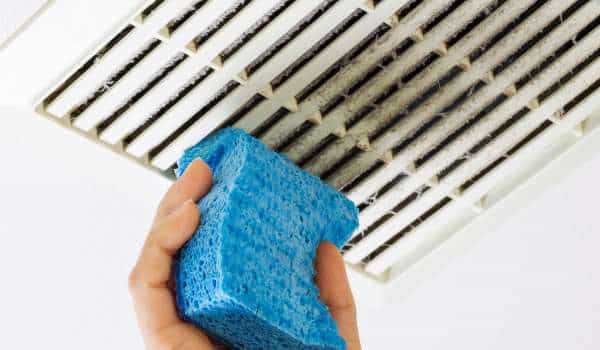
To achieve a thorough clean, focus on hard-to-reach areas and crevices. Scrub tight spots and cracks in the vent cover using a cleaning brush or toothbrush. Make sure you clean corners, edges, and any decorative patterns that can trap dirt. Wash and wipe these areas carefully to remove any remaining dirt or cleaning solution.
Section 5: Drying and reassembling the vent covers
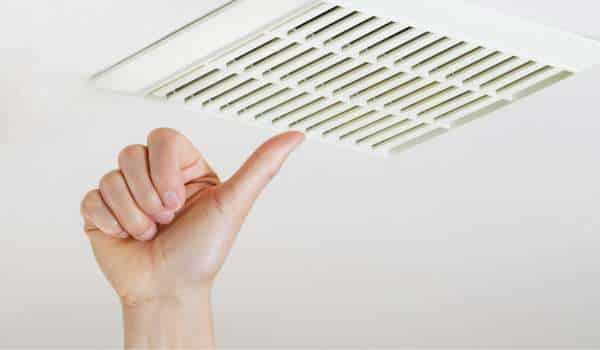
The final step involves drying and reassembling the vent cover. Use a clean towel or rag to dry the covers thoroughly, making sure they are completely dry before reassembling. Reattach the vent covers to the duct using the screws or fasteners removed in the initial step, making sure they are securely fastened to prevent any air leakage.
Regular Maintenance
- Clean the cover: Wipe down or wash the vent cover with a mild detergent and warm water to remove dust, dirt, and grime. You can use a soft cloth, sponge, or brush, depending on the material of the cover.
- Vacuum the duct: Use a vacuum cleaner with a hose attachment to remove any dust and debris from the inside of the air duct. Make sure to reach as far as you can to clean out any buildup.
- Check for obstructions: Inspect the interior of the duct for any obstructions like debris, pests, or mold. If you find any, take appropriate action to remove or address them.
- Replace or reattach the cover: After cleaning, securely reattach the vent cover. Ensure that it fits snugly and is properly fastened to prevent air leakage.
- Inspect for damage: Look for any signs of damage, such as rust or corrosion. And replace the cover if necessary to maintain proper airflow.
- Repeat regularly: Perform this maintenance at least once or twice a year to keep your air vent covers clean and functioning efficiently. More frequent cleaning may be required in dusty or high-traffic areas.
Additional tips for maintaining clean air vents
In addition to basic maintenance steps, it is beneficial to periodically check and replace air filters. Dirty filters can obstruct airflow and reduce indoor air quality. Seal any gaps or leaks around vent covers and ducts to prevent dust and allergens from entering your home. Consider using a high-efficiency particulate air (HEPA) filter and invest in a professional duct cleaning service every few years for a more comprehensive cleaning and maintenance routine to ensure clean and healthy indoor air.
The Final Thought
Regular air vent cover cleaning is an important task that should not be underestimated. By consistently maintaining and cleaning these covers. We can improve the air quality inside our homes by preventing the accumulation of dust and allergens. The process is both straightforward and budget-friendly, requiring only common household items like a vacuum cleaner, soap, and water. It is very important to make a habit of removing and cleaning the covers at least once or twice a year to ensure the efficiency of our heating and cooling systems. Don’t delay, Set aside some time today to give your air vents the care they need and enjoy the benefits of fresh, healthy air in your home.
